
This pattern can be found here.
This pattern can be found here.
This pattern can be found here.

The pattern for this place mat can be found here.
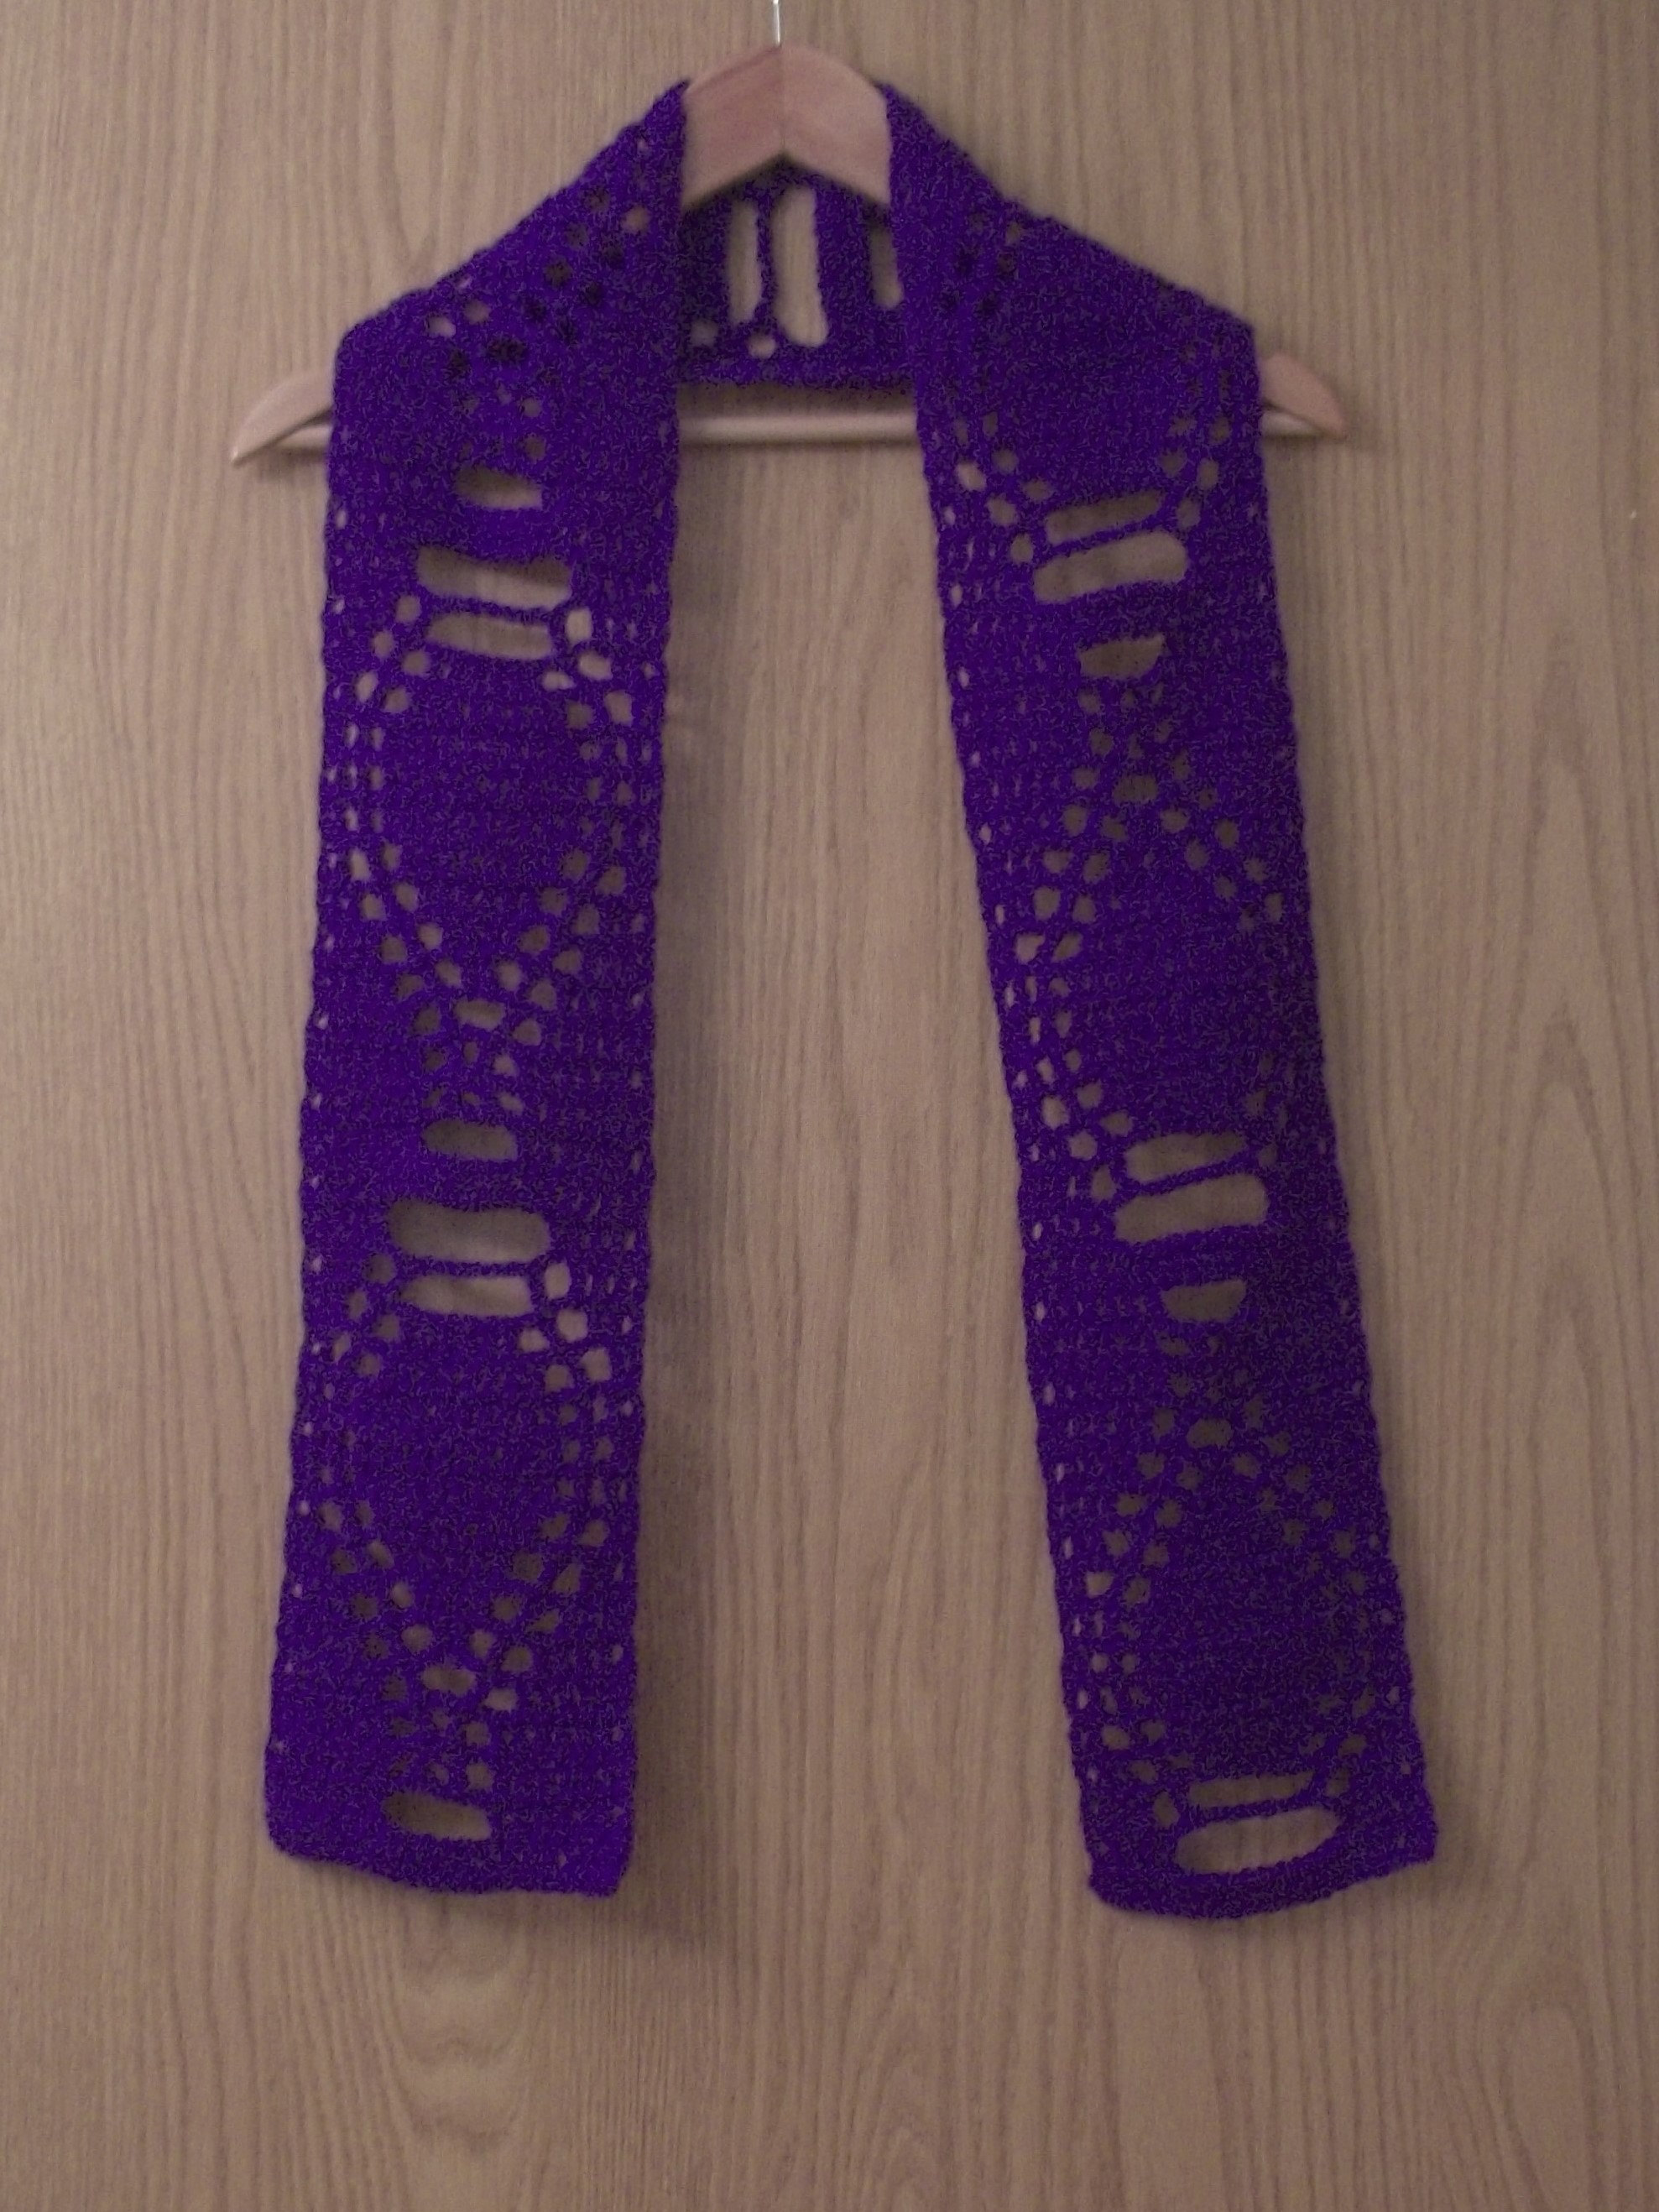
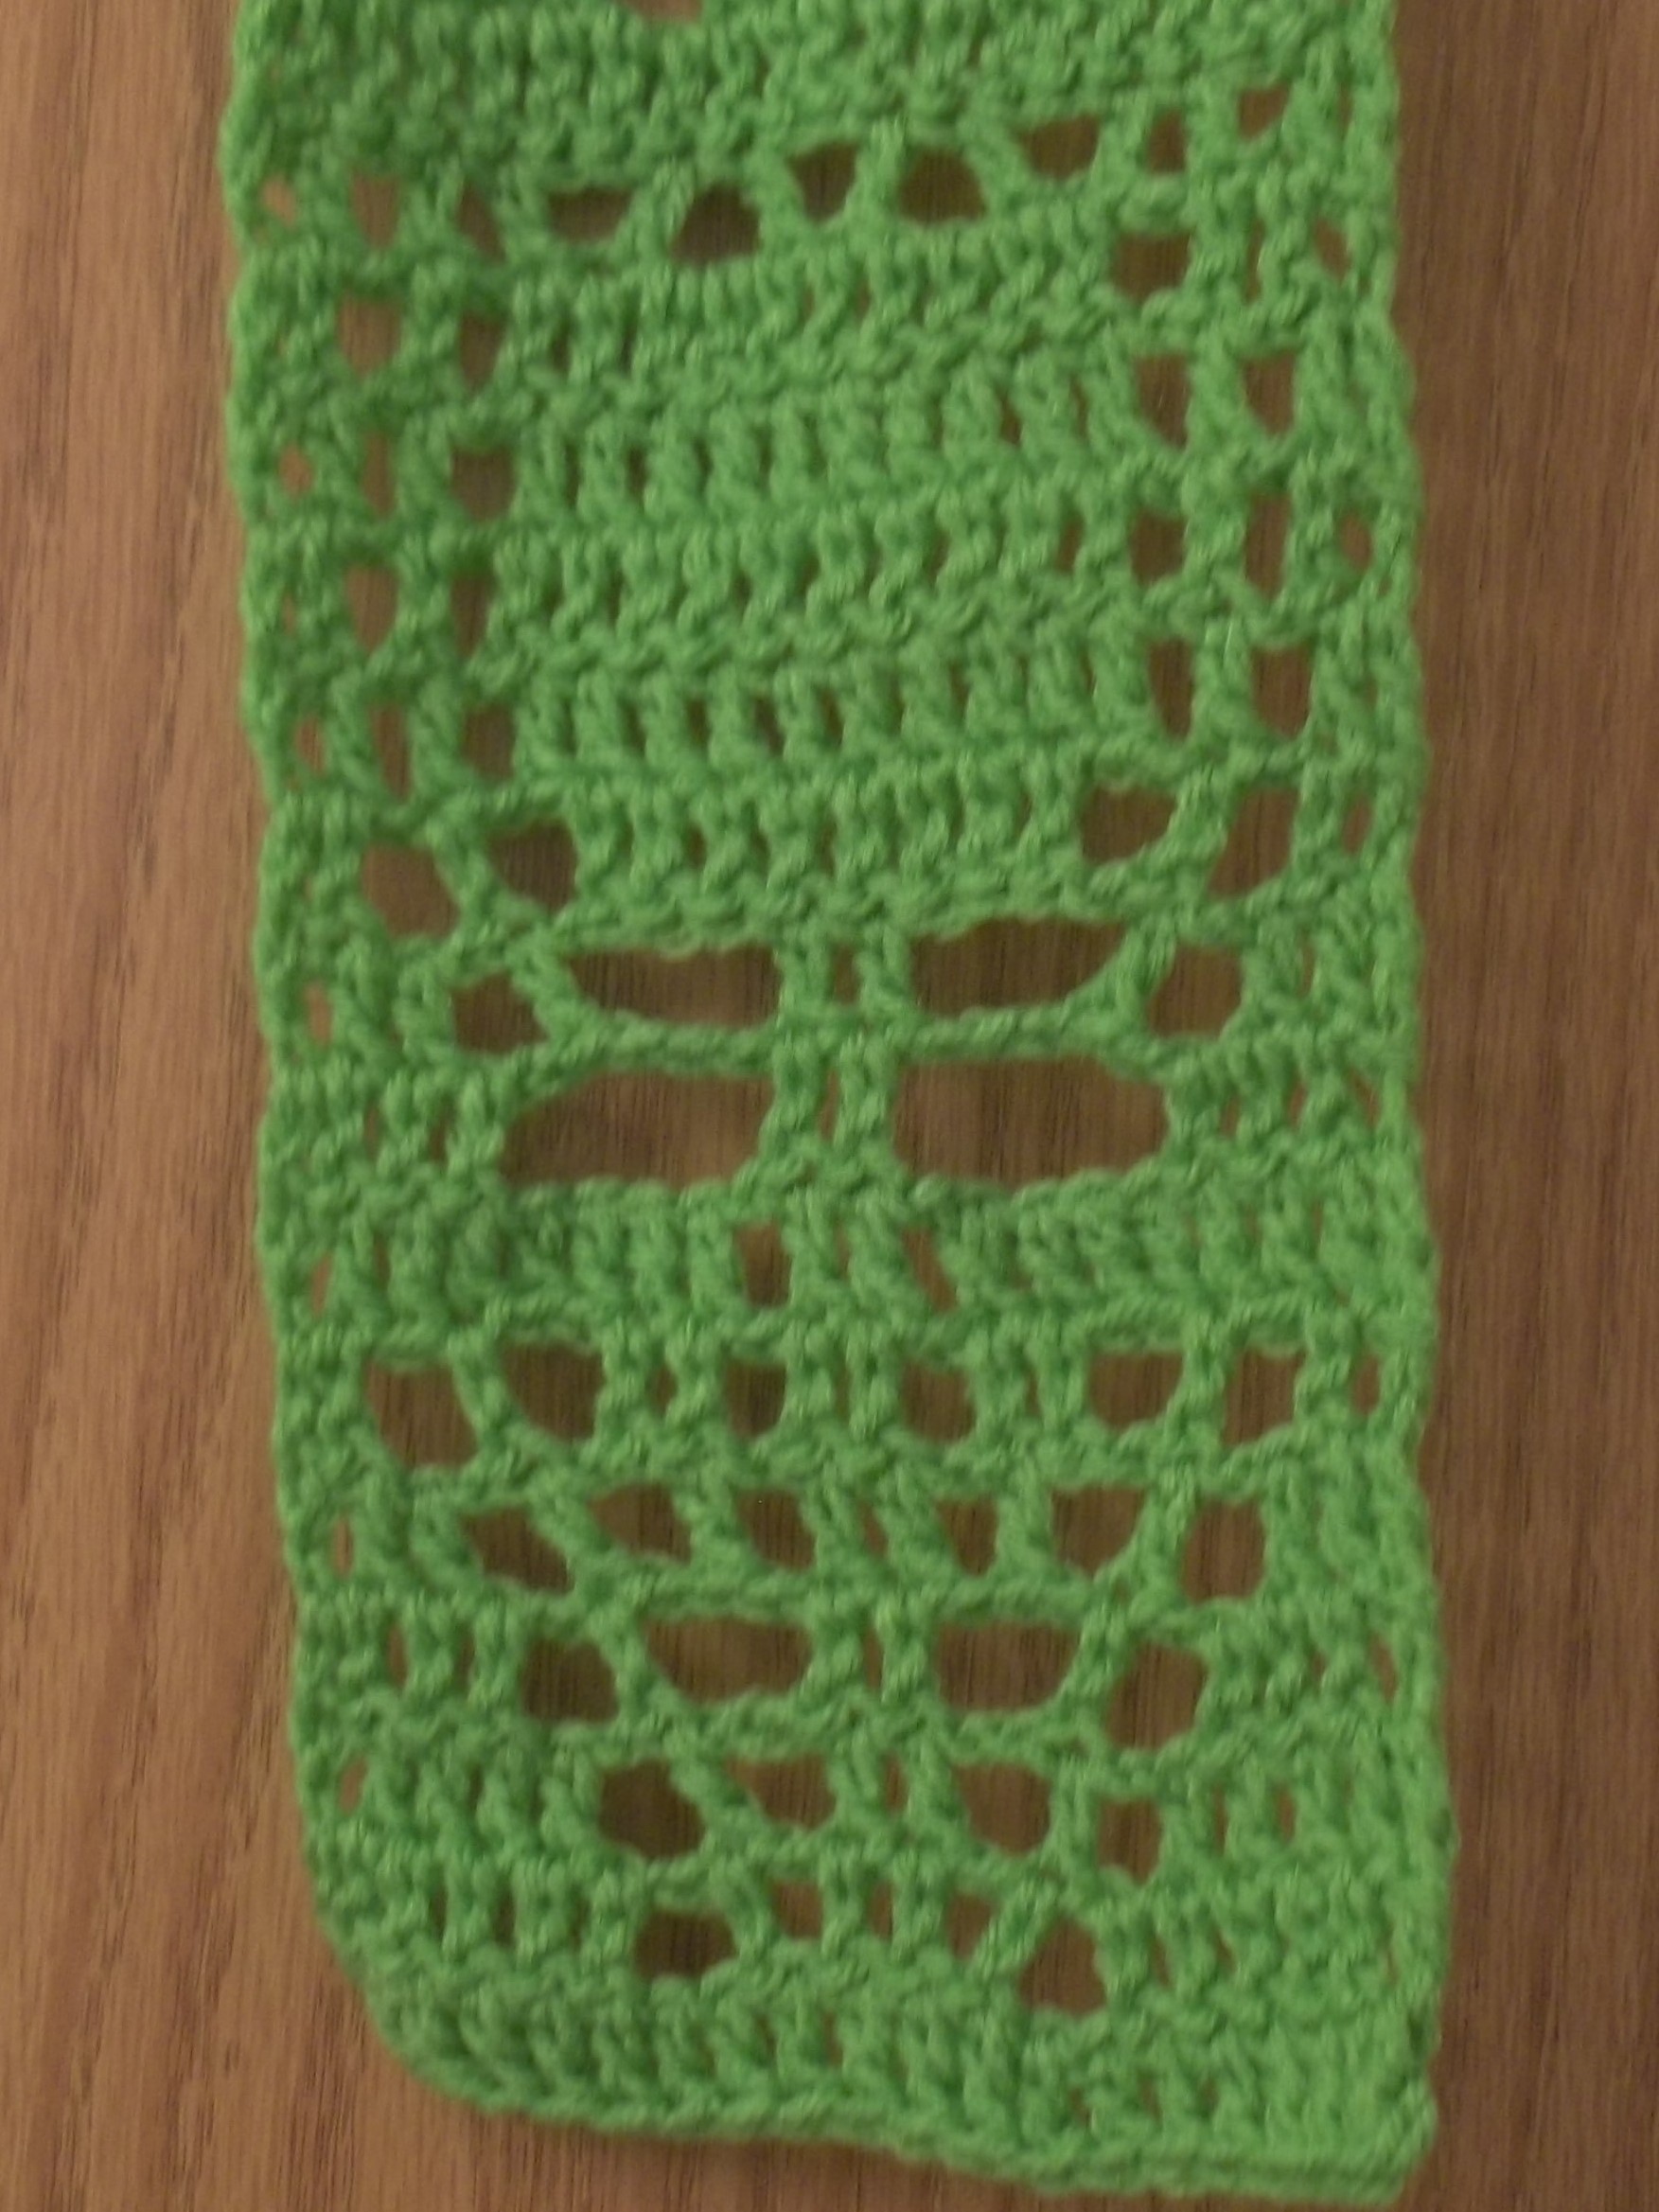
The pattern for this scarf can be found here.
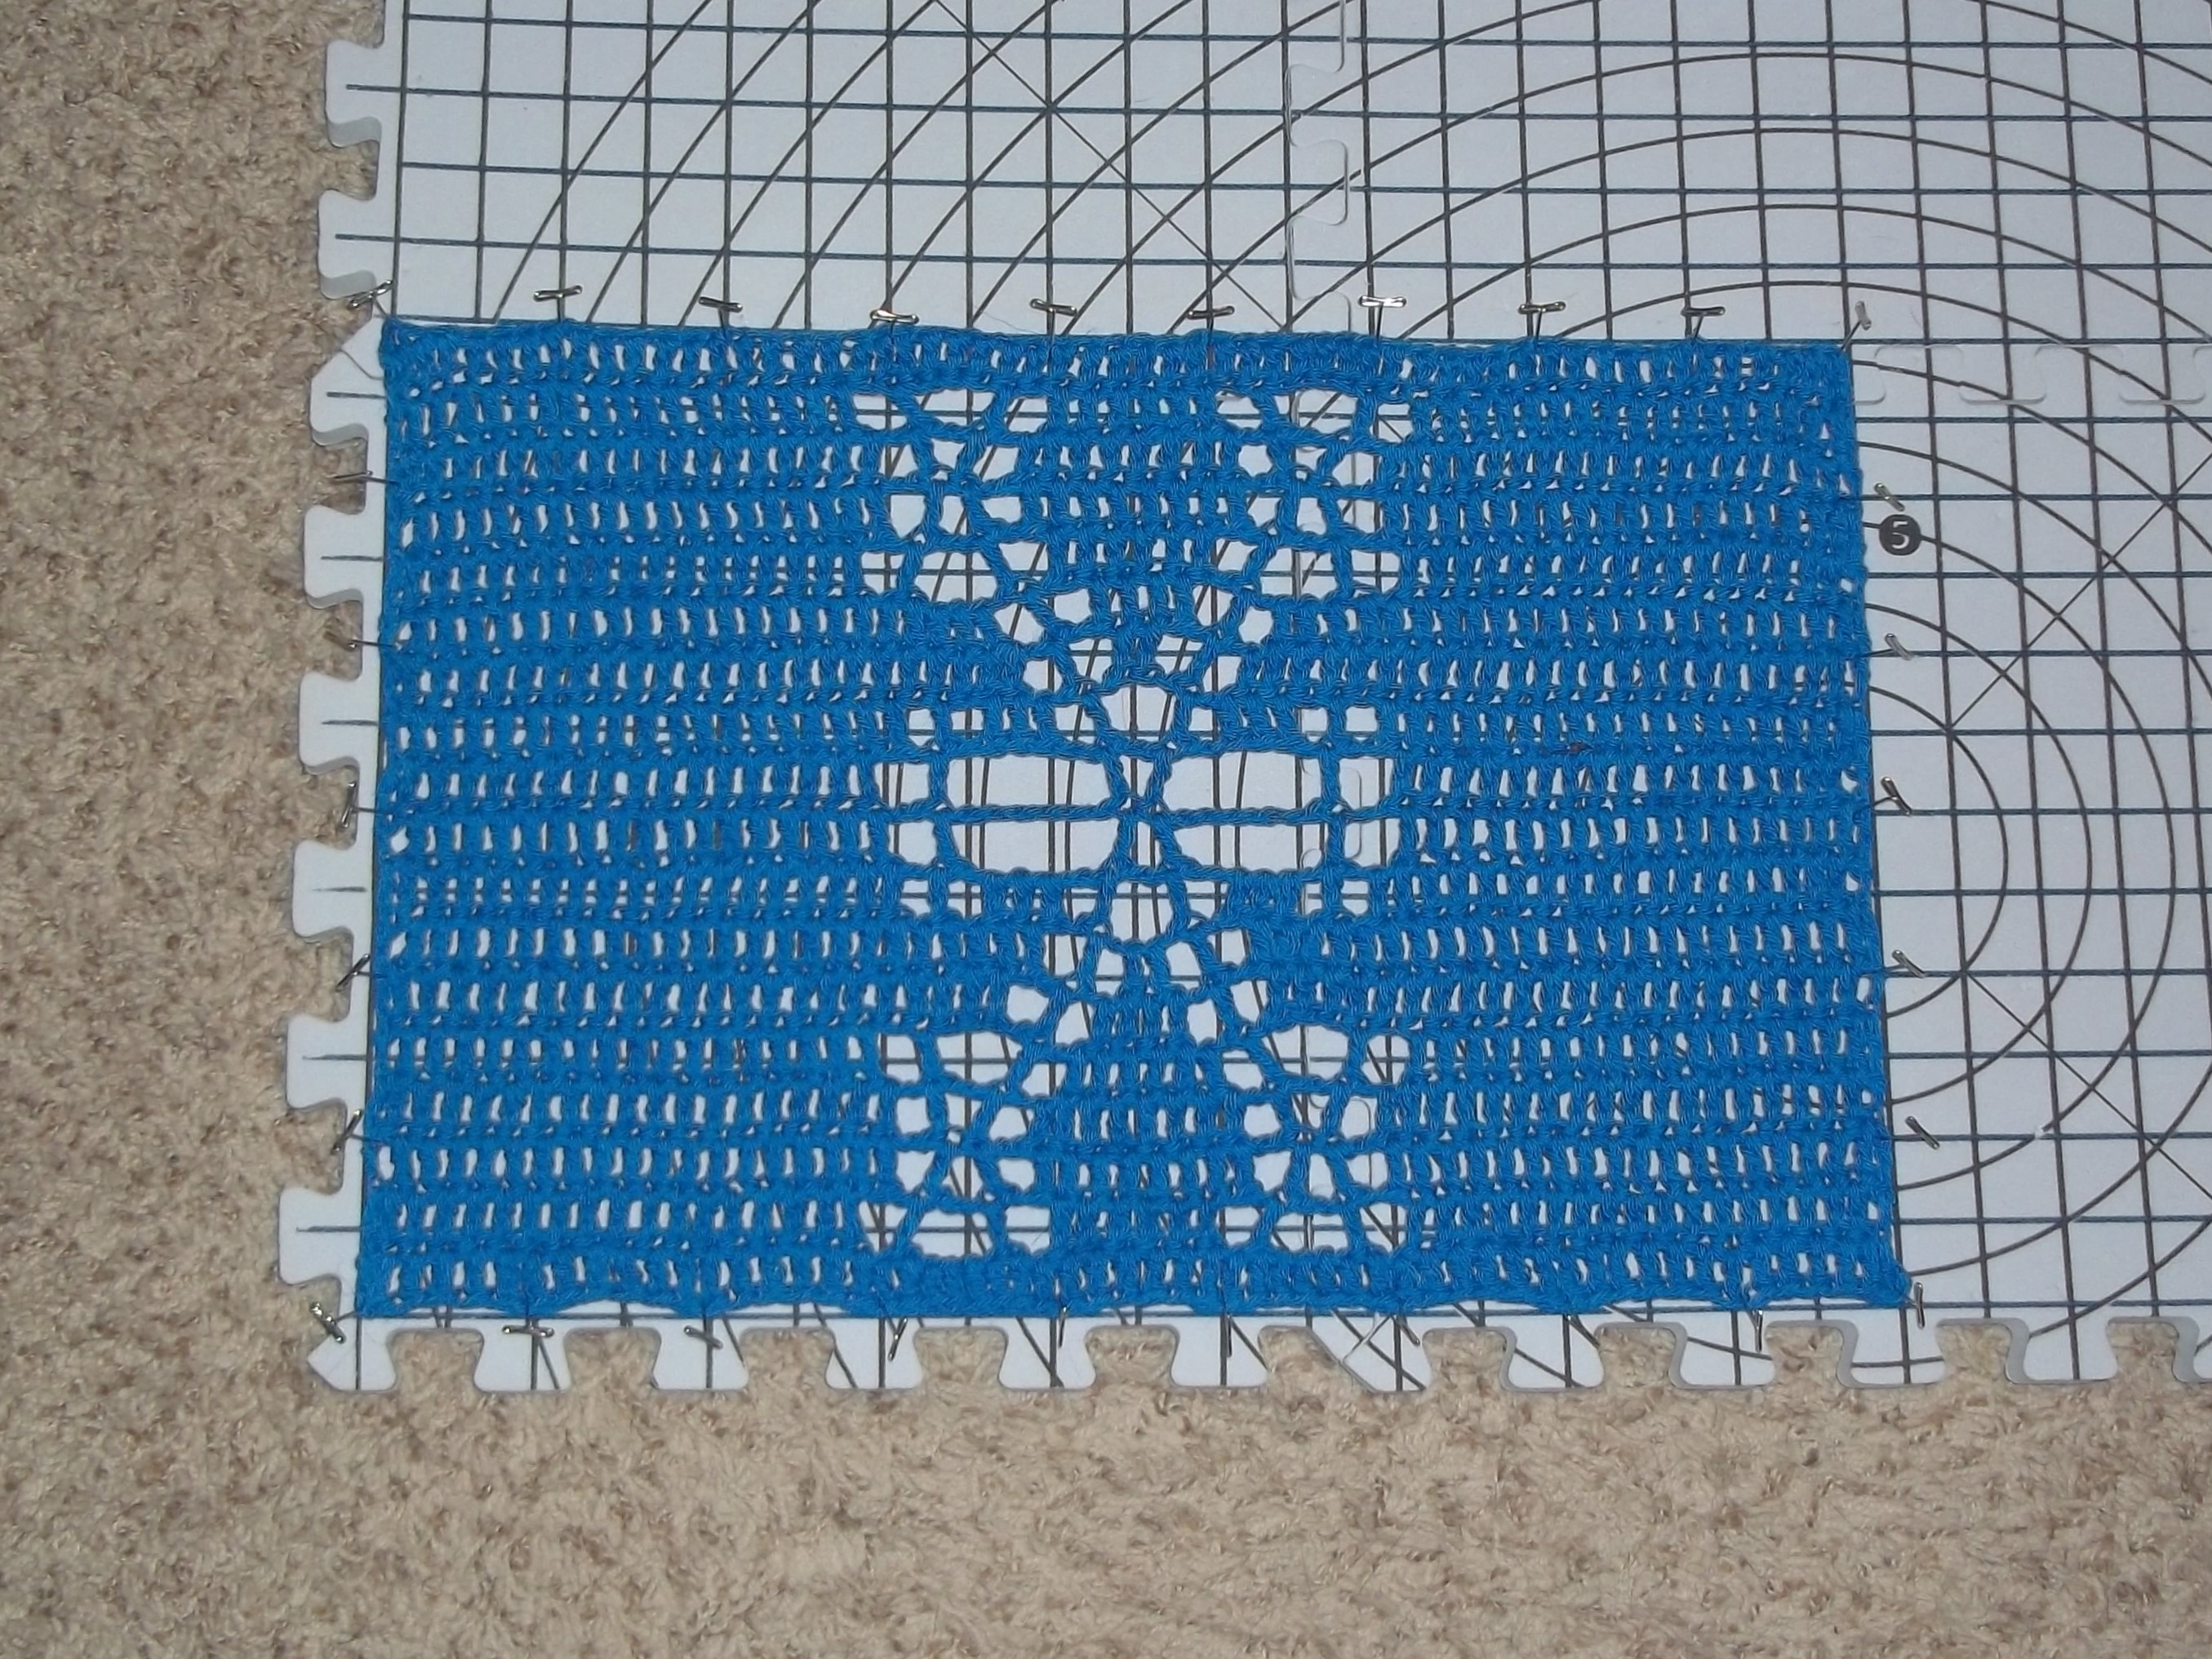
The pattern for this place mat can be purchased here.
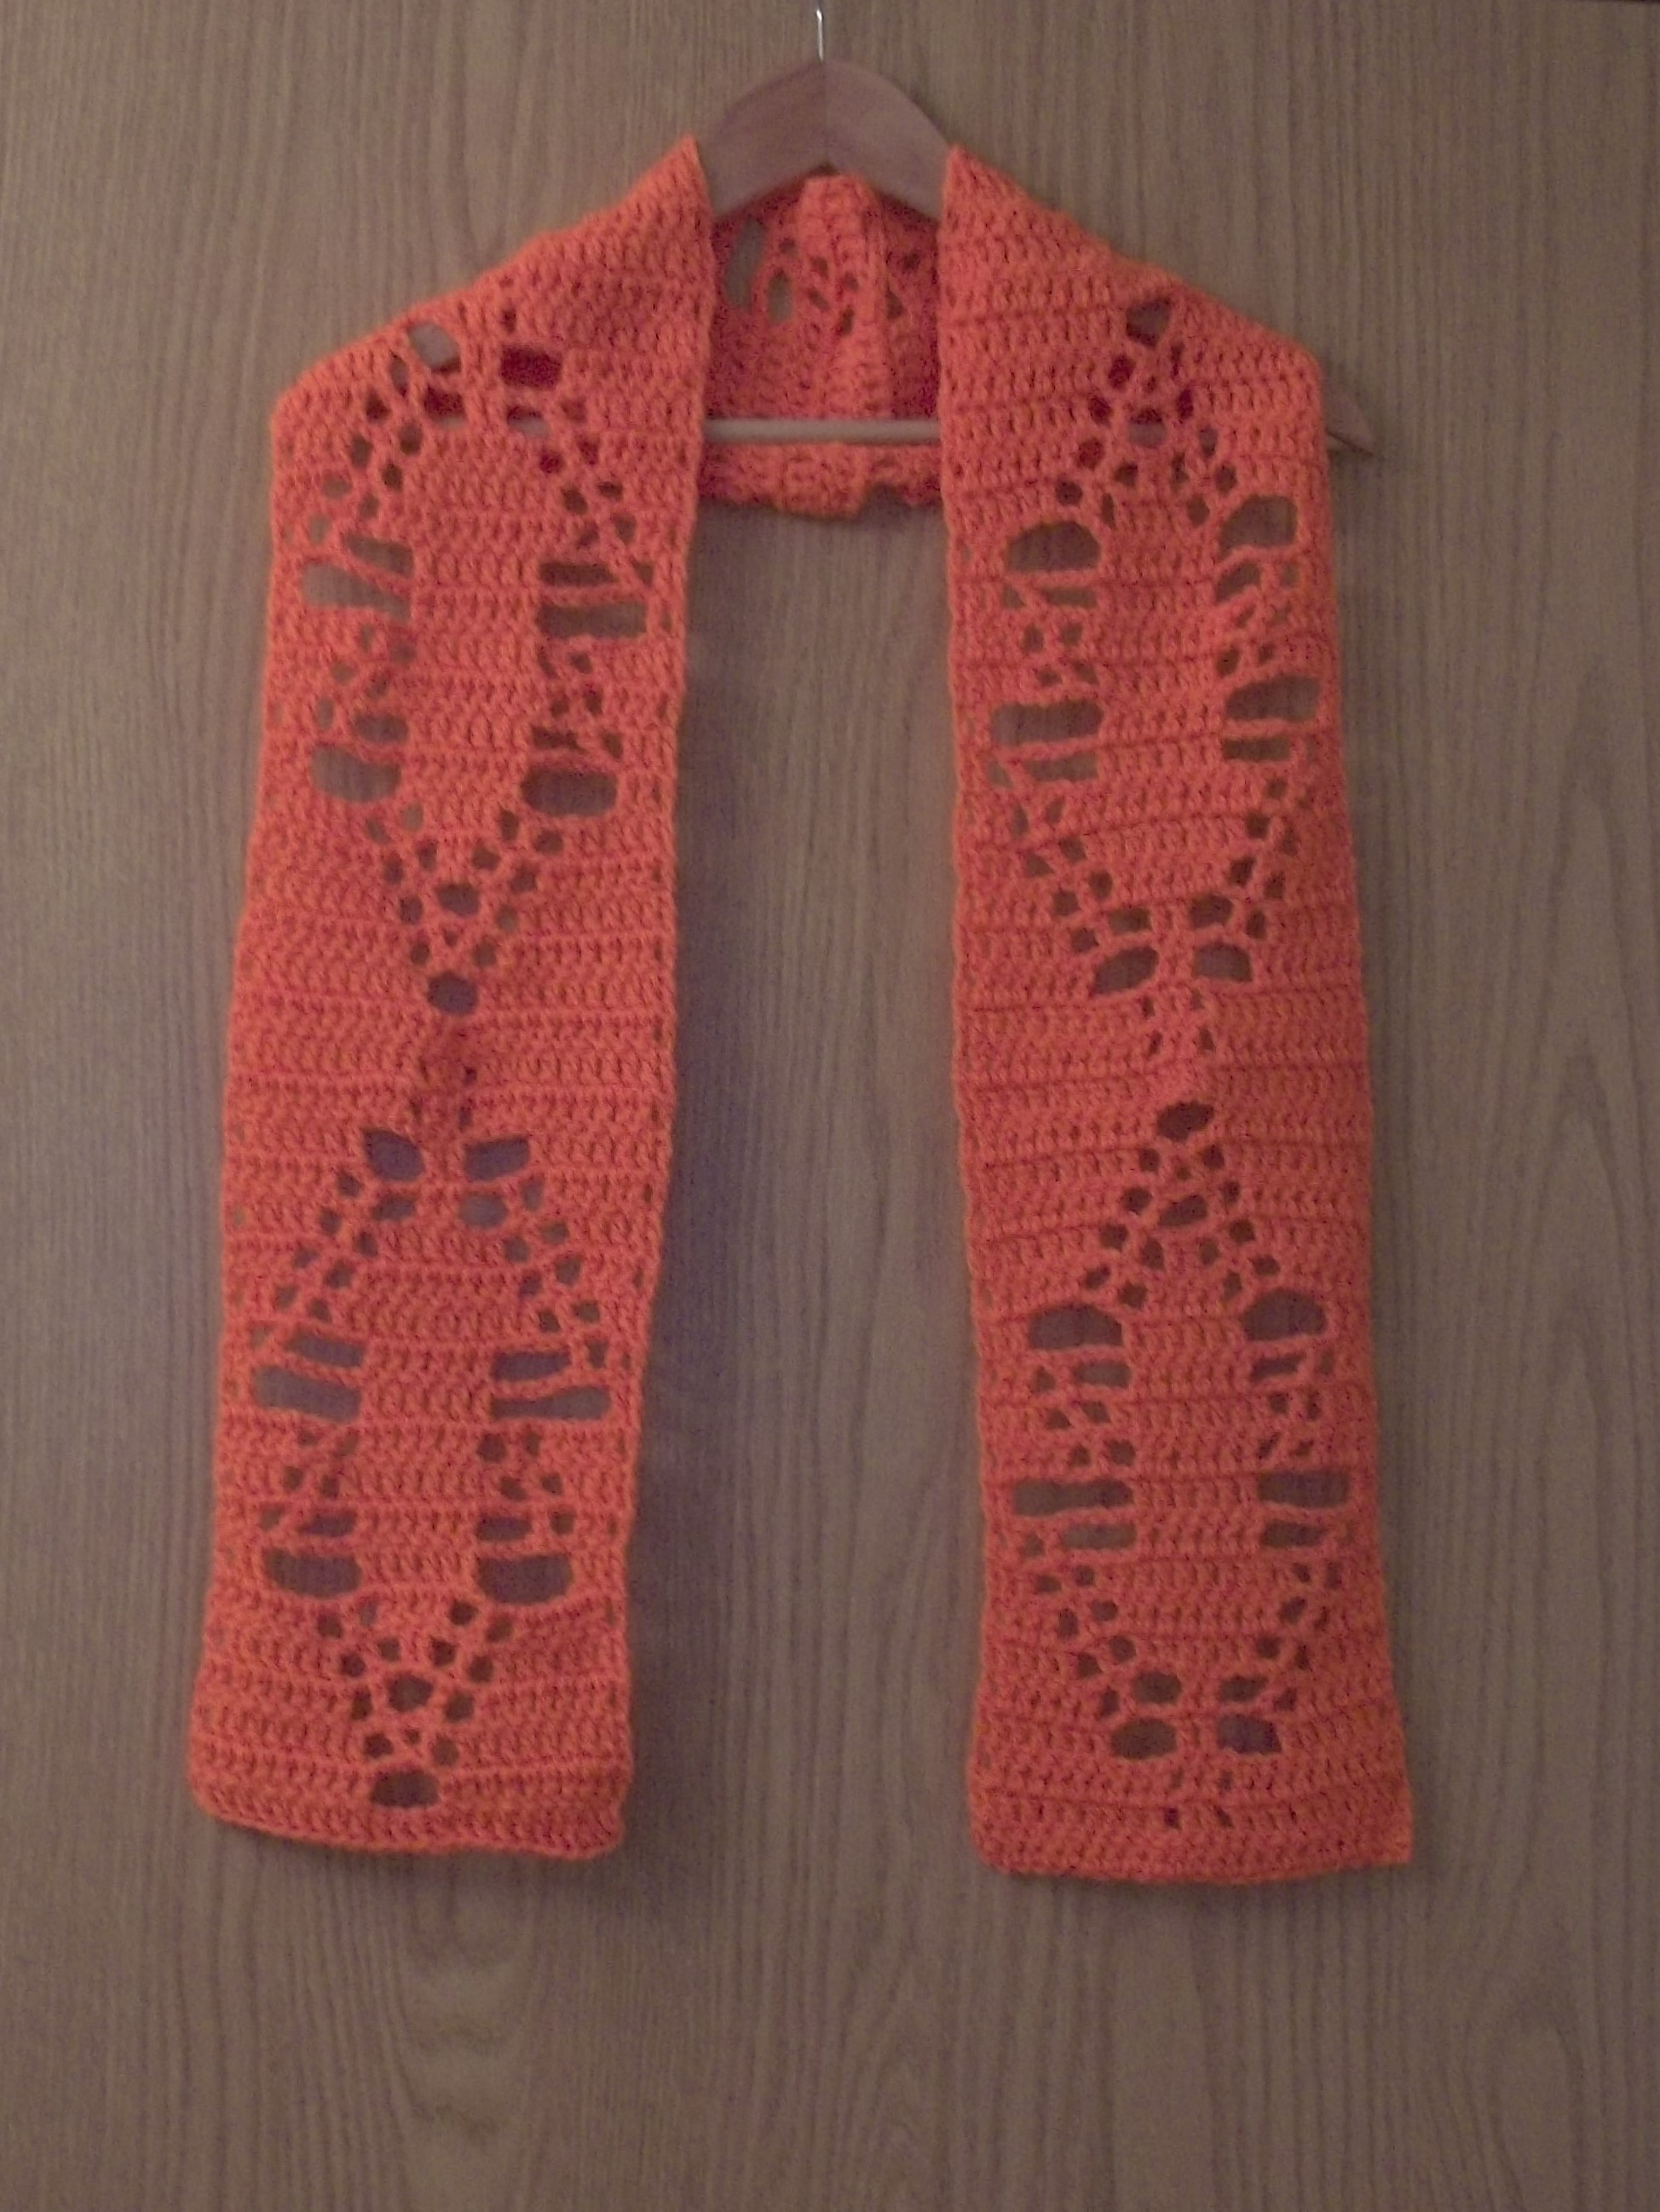
The pattern for this scarf can be found here.
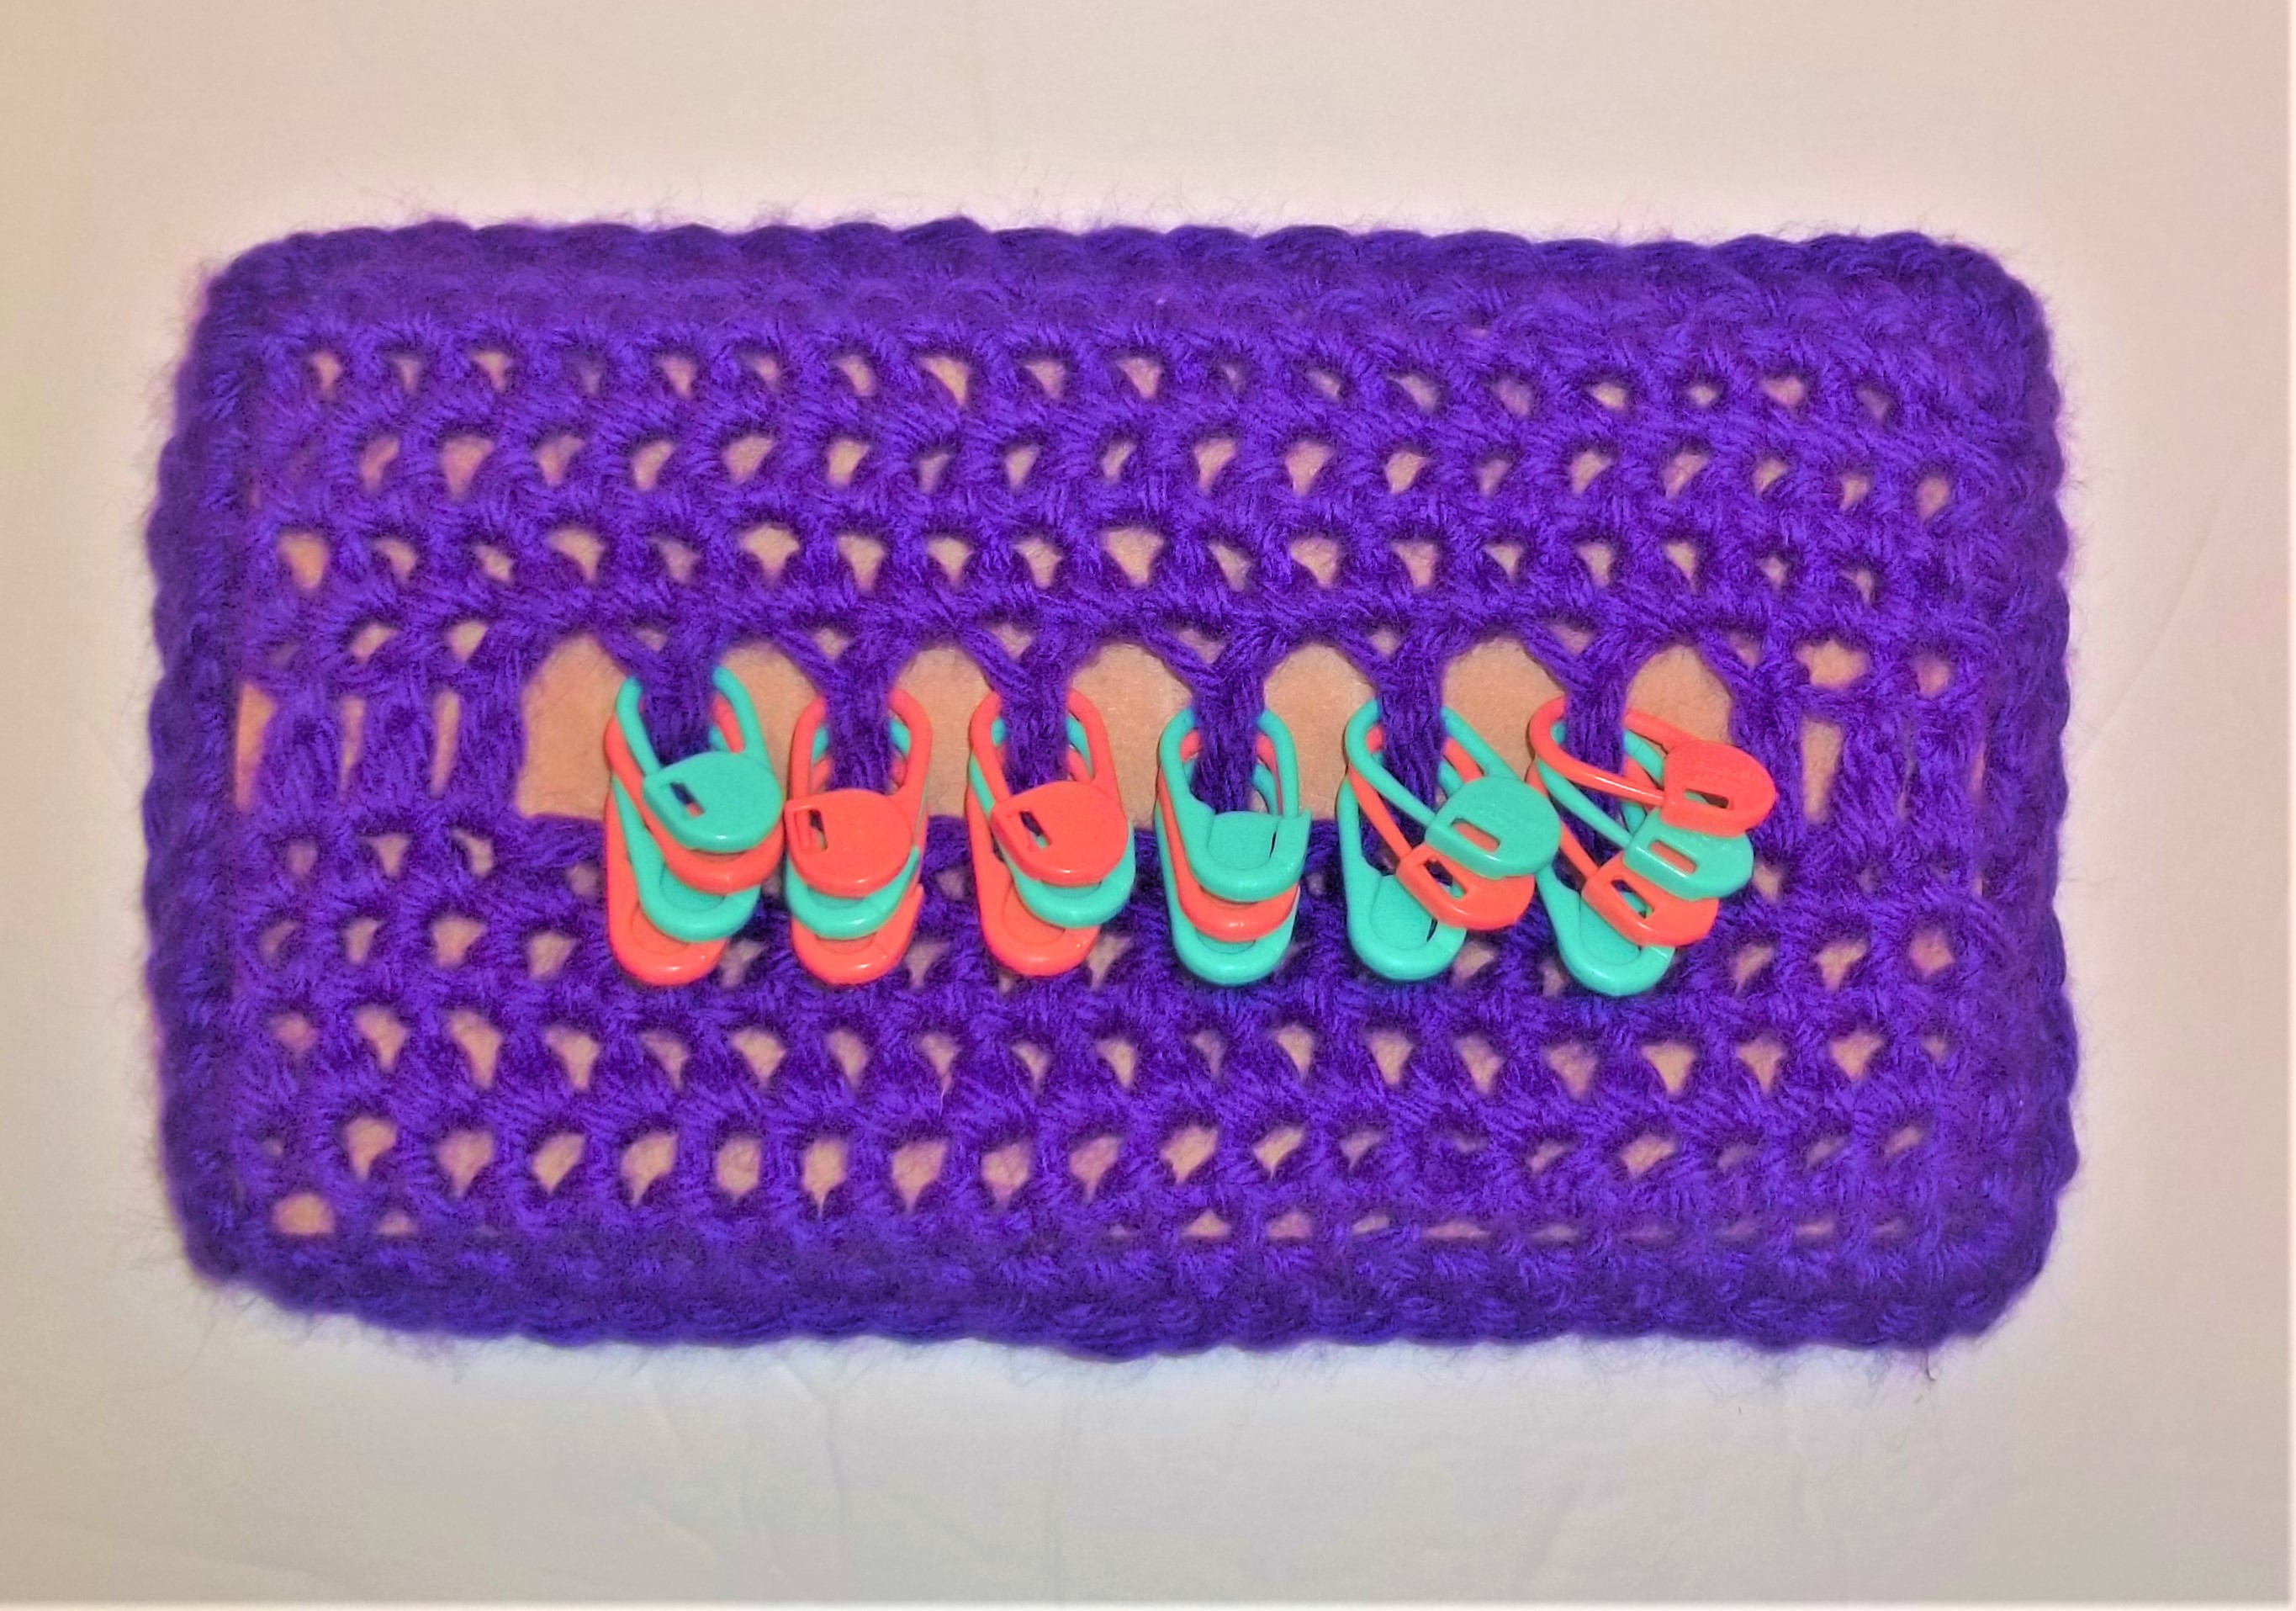
I found that the stitch marker holder that I made last week was a little bit hard to use, so I crocheted a backing for it. With a firm piece of cardboard inside, it is much easier to use. Here’s the rest of the pattern:
Ch 23
2. Ch2, 1sc in next 20 stitches. (21sc)
3 – 10. Repeat Row 2.
Using any border stitch attach the two pieces together along three sides. Slide cardboard inside. I used a piece of cardboard that was 3 by 6 inches. Then stitch up last side. Tie off and bury ends.

I finally purchased some stitch holders for my crochet projects. I was using a bit of yarn and looping it through the stitch I wanted to mark. But, I always wanted the real thing. Not liking the package they came in, I decided to make my own holder. I thought I’d share the pattern here:
This stitch marker holder can be sewn to a hook book, project bag, or left alone.
Gauge isn’t critical for sizing something like this. Another reason to do a gauge swatch is to see if the fabric drapes the way you want.
Supplies: Caron Simply Soft Yarn, 4 medium weight, Iris, a couple yards
H hook(5.00mm)
Tapestry needle to weave in ends
Abbreviations: ch – chain
sc – single crochet
dc – double crochet
Size: 7 inches by 3 inches
Note: Using a larger hook for the starting chain can keep the beginning end of the item looking square when finished.
Note: Ch2 or ch3 at the beginning of a row counts as one stitch.
ch 23
2. Ch2, 1sc in next 20 stitches. (21sc)
3 – 4. Repeat row 2.
5. Ch3, 1dc in next 3 stitches, (ch1, skip 1 stitch, 1dc in next stitch) 6 times, ch1, skip 1 stitch, 1dc in next 4 stitches. (7ch, 14dc)
6-9. Repeat row 2.
Fasten off and bury ends.
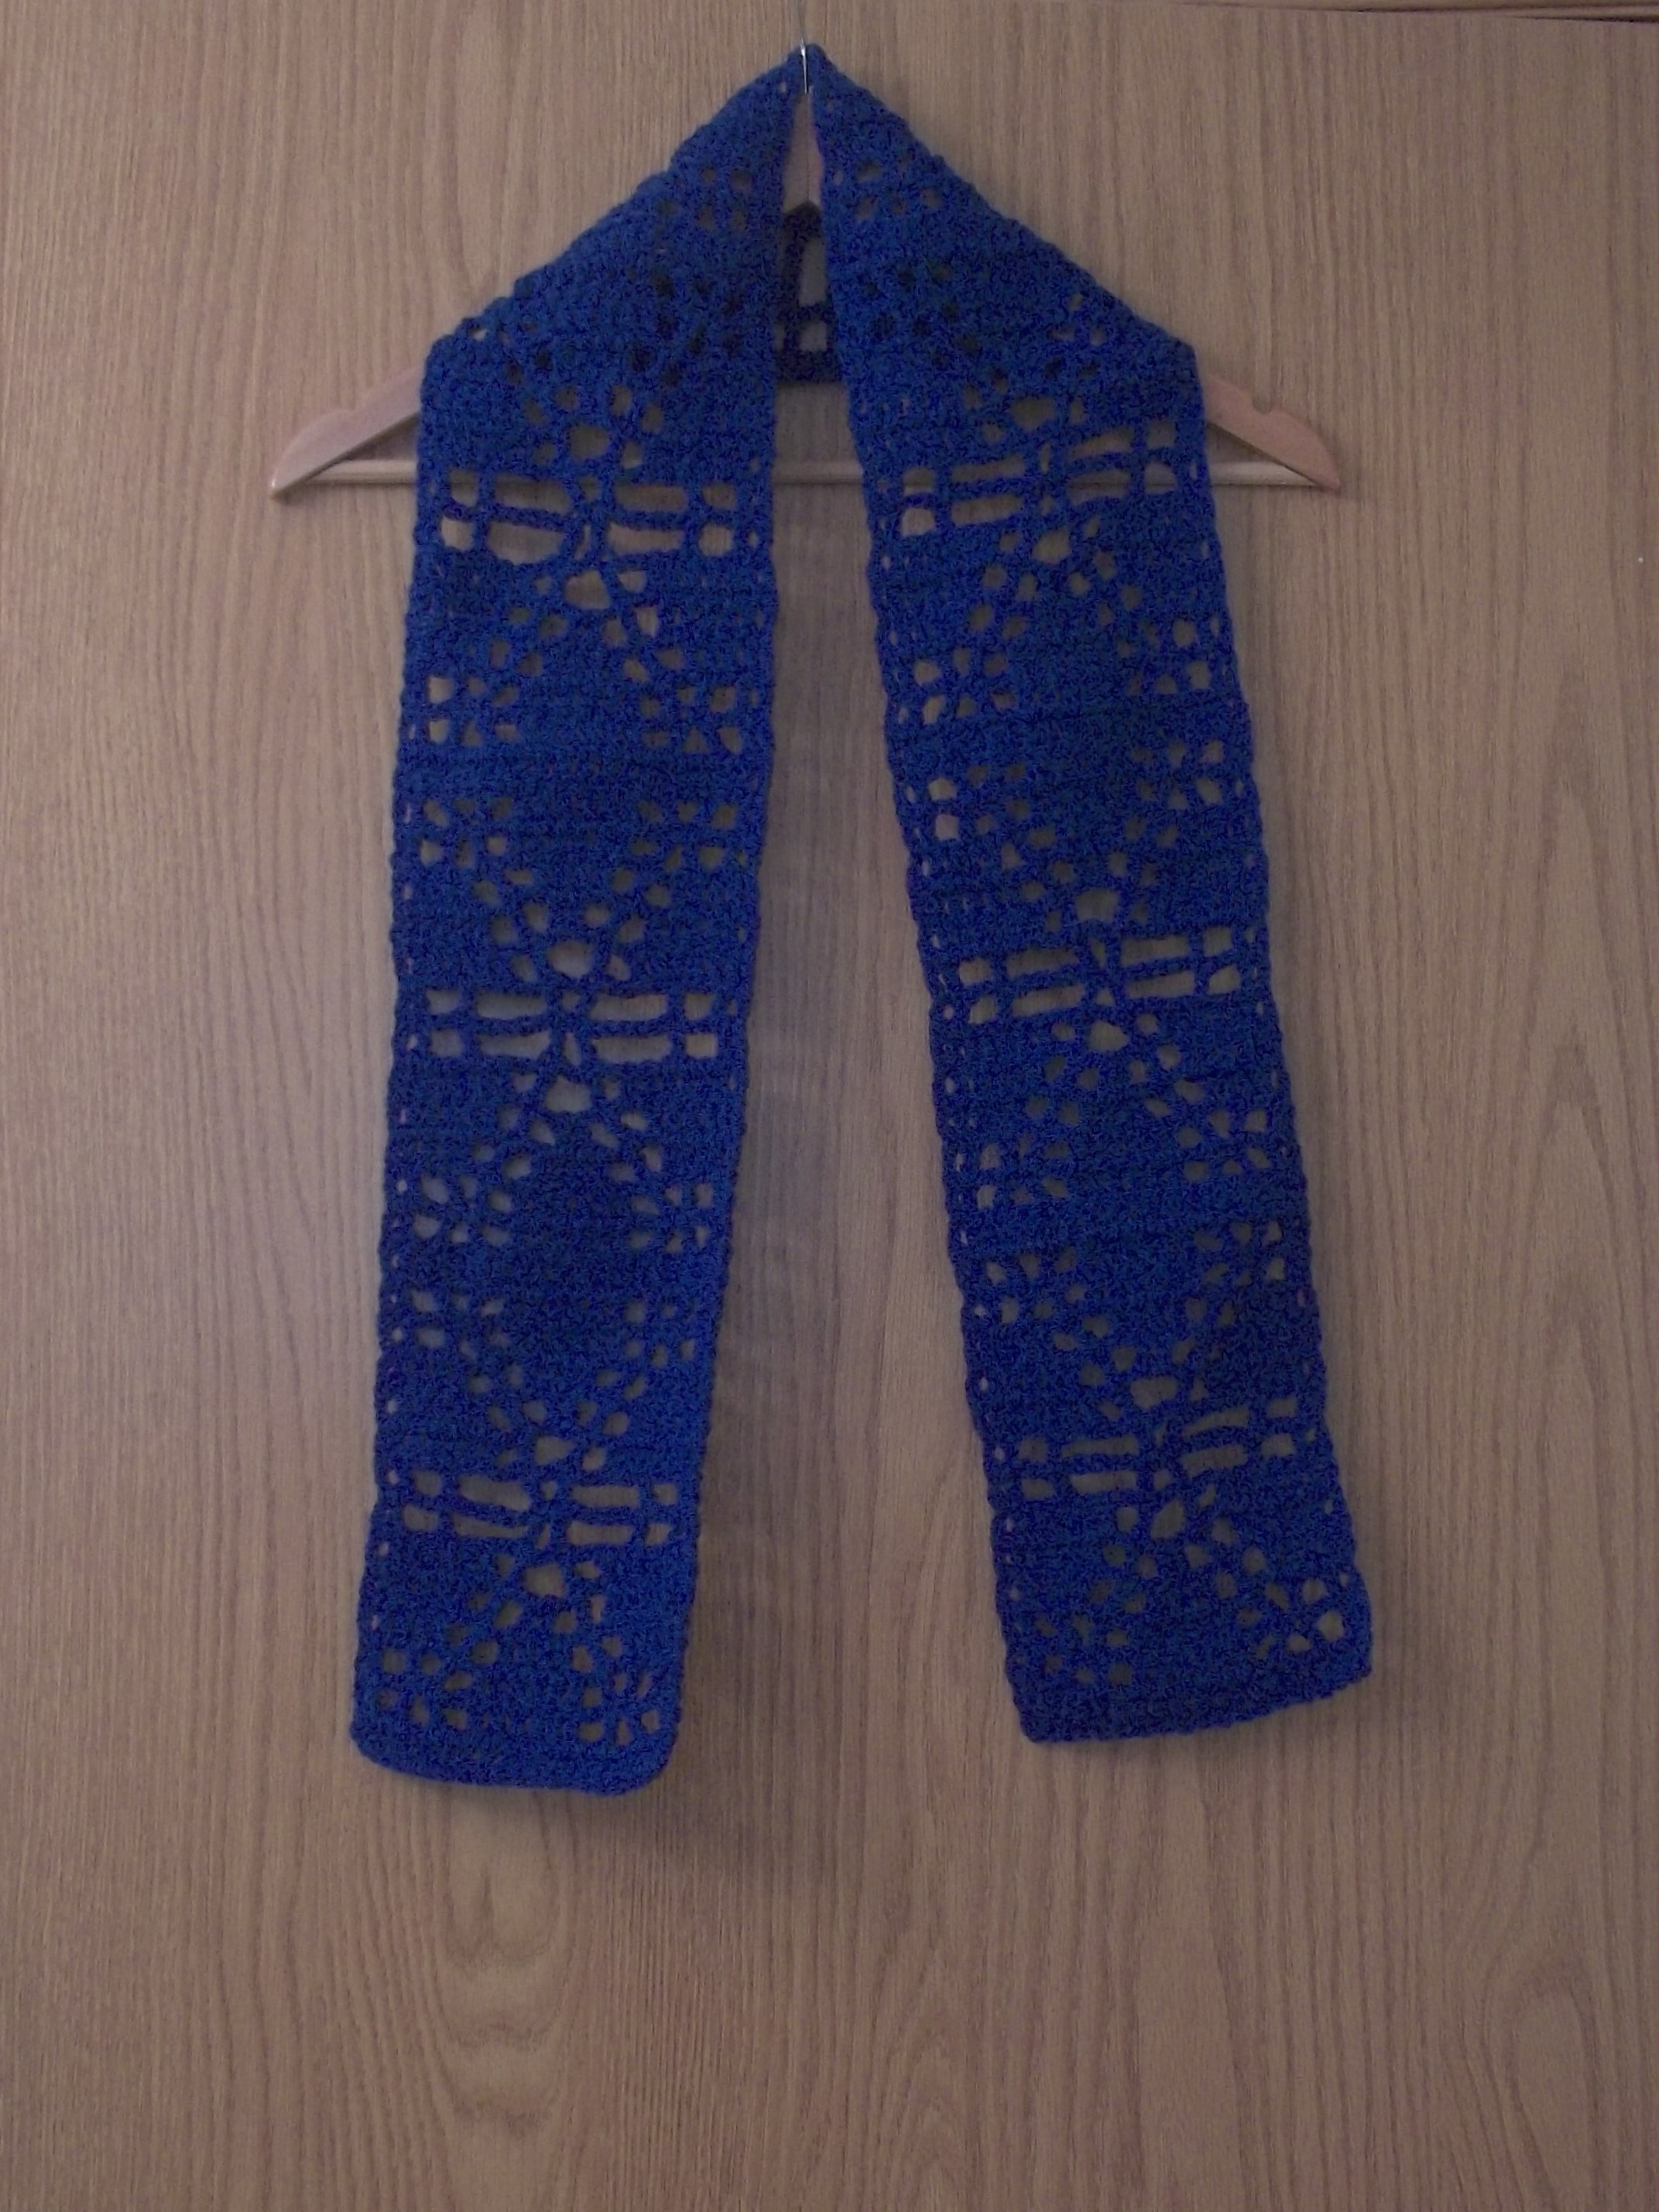
This scarf pattern can be found here.

This pattern is on ETSY, here.
